mh lcd i2c


20 ₪

الناشر: متجر القطع الالكترونية

القسم: شاشات ولمبات ومصابيح ولدات

تاريخ النشر: 2021-02-03


ملاحظة:

هذه الاكواد والمكتبات لكل المتحكمات arduino و esp8266 و esp32 ولكل واحدة صورة للدائرة الخاصة بها


Components Required

----------------------- Arduino Uno or ESP8266 or ESP32 LCD 16x2 or 20x4 I2C for LCD Hook-Up wires -----------------------


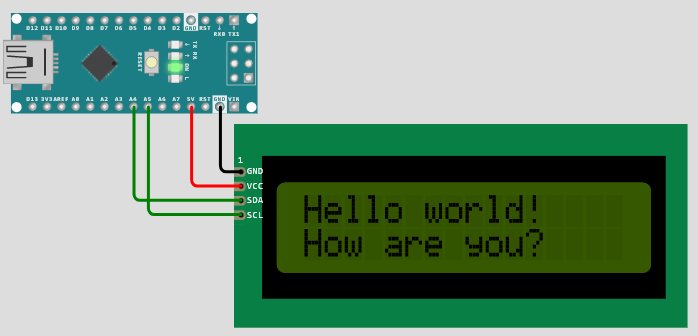
connection if arduino uno


connection if esp8266


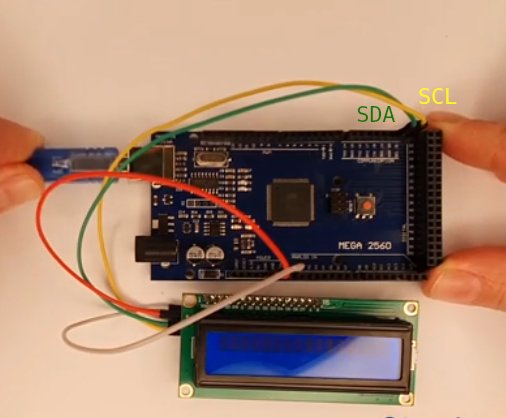
connection if esp32


Code Requirment

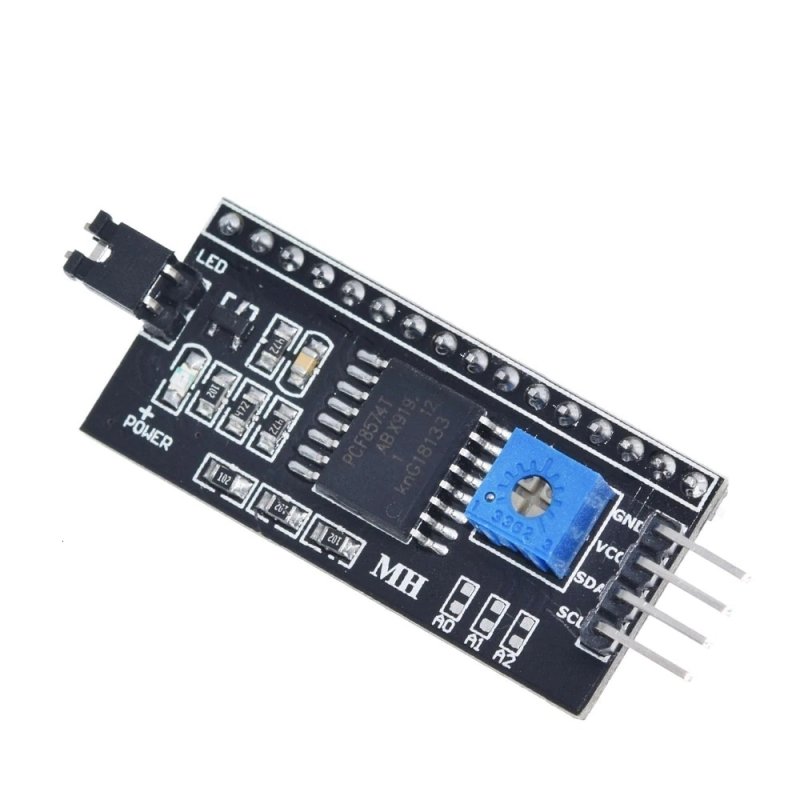
There is an LCD I2C master library included in the Arduino IDE. But there\'s a slight problem with the code in it. All the examples in this library assumes the default address of the I2C as 0x27. So first we have to find out what the address of our I2C is. We can do this by using the I2C scanner code. Once we have the I2C address we can replace this value in the example code and start using it.


I2C Scanner Code:

code
نسخ
اقتباس
عرض
تنزيل
	
								
#include <Wire.h> void setup() { Wire.begin(); Serial.begin(9600); while (!Serial); // wait for serial monitor Serial.println("\nI2C Scanner"); } void loop() { byte error, address; int nDevices; Serial.println("Scanning..."); nDevices = 0; for(address = 1; address < 127; address++ ) { // The i2c_scanner uses the return value of // the Write.endTransmisstion to see if // a device did acknowledge to the address. Wire.beginTransmission(address); error = Wire.endTransmission(); if (error == 0) { Serial.print("I2C device found at address 0x"); if (address<16) Serial.print("0"); Serial.print(address,HEX); Serial.println(" !"); nDevices++; } else if (error==4) { Serial.print("Unknown error at address 0x"); if (address<16) Serial.print("0"); Serial.println(address,HEX); } } if (nDevices == 0) Serial.println("No I2C devices found\n"); else Serial.println("done\n"); delay(5000); // wait 5 seconds for next scan }


Scanner Output


lib


Example Code:

code
نسخ
اقتباس
عرض
تنزيل
	
								
//Library version:1.1 #include <LiquidCrystal_I2C.h> // set the LCD number of columns and rows 20x4 or 16x2 int lcdColumns = 16; int lcdRows = 2; // set LCD address, number of columns and rows // if you don't know your display address, run an I2C scanner sketch // Set the LCD I2C address 0x27 , if it's not working try 0x3F.(check it by scanner code) LiquidCrystal_I2C lcd(0x27, lcdColumns, lcdRows); void setup() { lcd.init(); // initialize the lcd lcd.backlight(); // Turn on the backligt (try lcd.noBaklight() to turn it off) delay(1000); lcd.noBacklight(); delay(1000); lcd.backlight(); // finish with backlight on lcd.setCursor(0,0); lcd.print("it's working!"); lcd.setCursor(1,2); //First line lcd.print("Please Wait ..."); delay(2000); } void loop() { lcd.clear(); lcd.setCursor(0,0); lcd.print("Please Wait"); delay(1000); lcd.print(" ... "); // this will contact with previous " Please Wait ... " delay(1000); }


سلة المشتريات افراغ السلة